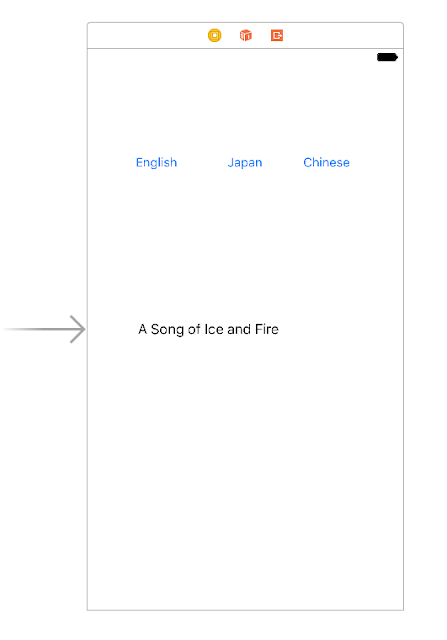
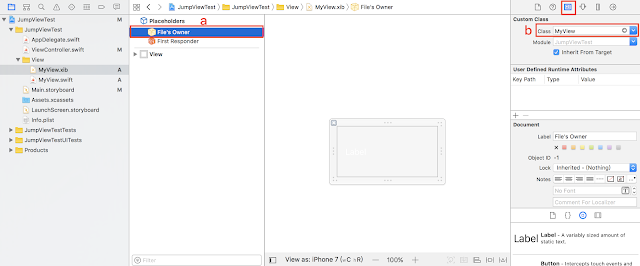
1.在Main.storyboard 拉三個按鈕與一個Label
2.與ViewController.swift建立連接
import UIKit

class ViewController: UIViewController {

    @IBOutlet weak var labMessage: UILabel!


    override func viewDidLoad() {
        super.viewDidLoad()
    }

    override func didReceiveMemoryWarning() {
        super.didReceiveMemoryWarning()
        // Dispose of any resources that can be recreated.
    }

    @IBAction func btnEnglish(_ sender: UIButton) {
        UserDefaults.standard.set("Base", forKey: "lang") //儲存語系為基本
        setMessage()
    }

    @IBAction func btnJapan(_ sender: UIButton) {
        UserDefaults.standard.set("ja", forKey: "lang") //儲存語系為日文
        setMessage()
    }

    @IBAction func btnChinses(_ sender: UIButton) {
        UserDefaults.standard.set("zh-Hant", forKey: "lang") //儲存語系為繁體中文
        setMessage()
    }

    func setMessage() {
        labMessage.text = "A Song of Ice and Fire".localized //使用擴展功能 localized
    }

}

extension String{

    var localized: String {

        let lang = UserDefaults.standard.string(forKey: "lang")

        let bundle = Bundle(path: Bundle.main.path(forResource: lang, ofType: "lproj")!)

        return NSLocalizedString(self, tableName: nil, bundle: bundle!, value: "", comment: "")

    }
}
3.建立Localizable.strings檔案New File... -> 找到 String File -> 輸入Localizable.strings -> Create
建立完成後點選檔案->右邊的
 ->再點選Localize...
4.回到PROJECT的Info 點選Localizations的 + 會出現所有語言, 這裡選擇Japanese(ja)與Chinses(zh-Hant), 括弧內為設定文字對應的縮寫
勾選建立的Localizable.strings就好
接著Localizable.strings會出現三個檔案
分別在 Localizable.strings(Base)輸入
"A Song of Ice and Fire" = "A Song of Ice and Fire";
Localizable.strings(Japanese)輸入
"A Song of Ice and Fire" = "氷と炎の歌";
Localizable.strings(Chinese(Traditional))輸入
"A Song of Ice and Fire" = "冰與火之歌";
檔案下載:
https://github.com/terryyamg/MultipleLanguageTest
參考連結:
https://stackoverflow.com/questions/25081757/whats-nslocalizedstring-equivalent-in-swift
https://medium.com/lean-localization/ios-localization-tutorial-938231f9f881


